3 - Creating a Campaign design in Sleeknote
Creating a Campaign design in Sleeknote. In order to start building our campaign with Sleeknote we will have to follow a set of actions, below will be listed in order the steps you got to complete to…

Creating a Campaign design in Sleeknote
In order to start building our campaign with Sleeknote we will have to follow a set of actions, below will be listed in order the steps you got to complete to create and activate all the automations and assets that will contribute to such goal:
Initial - Start by selecting the right pop up template
As a first step, do not let yourself be miss leaded by the huge blue tempting CTA on the left upper corner:
search right below from this CTA a tab that states "campaigns" and click on that one:
There, you will have to pick among the available templates, and then decide which one to use:
- [Country] TEMP Event/Newsletter Pop-up - Orange
This is a basic pop up with a clear goal: redirect to a proper landing page, where conversion will take place. this is a recommended pop up to be used on the left / right corner. - [Country] TEMP Newsletter Form - Pop-up (LOCKED - approval needed)
This is a pop up oriented to gather registrants to the country newsletter, is the only template that will be connected directly to Pardot. It will require that before activation, you contact the Marketing automation team for building the background process. - [Country] TEMP Event/Newsletter - stick banner
This is a special pop up, that displays only in the most higher / lower point of the site, sharing as well the common clear goal: redirect to a proper landing page, where conversion will take place. this is a recommended pop up to be used on the top of the site, although as mentioned, can also be displayed at the bottom. - [Country] TEMP Website down - stick banner
This template is created to be activated in the event of the country website being down. Even if the site is not working, the stickbanner will be displayed, and the users can be redirected to mySDWorx app.
The next action is not click on the template, but rather, to search for the 3 dots to the very left on the same screen you pick the folder:
then search for the option: "Duplicate". From there, now you can start working on your banner, meaning, that now you can click over the duplicate asset and proceed making it your own.

Do not forget when completed, that from the campaigns menu,by clicking the checkbox on the left side of your newly created campaign, a option to move it to your country folder will appear at the bottom of your screen:
Step 1 - Align General details of the campaign
Be aware of by default, the first time you access this duplicate you will be placed on the Step 2 - Design, and therefore you will have to jump back to the first tab "step 1 - General". if you there, as a first task you will be able of:
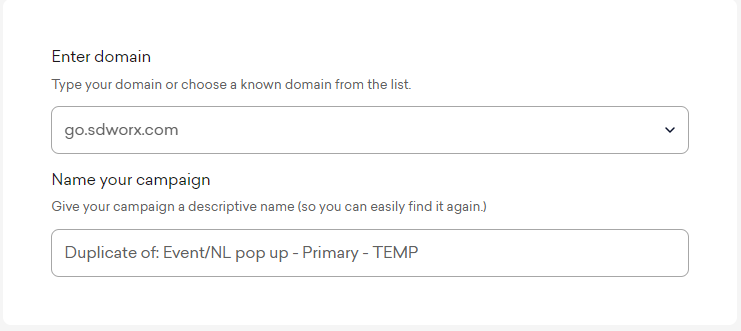
- change the name of the campaign and choose a main domain for it:
- Select the template (AVOID this step, by clicking on the CTA "continue" or in the third dot of the tab:
- Choose the position of the banner:
- Pop up - center (recommended)
- Slide in - bottom left
- Slide in - bottom right
- Embedded - free placement
- SleekBar - top (recommended)
- SleekBar - bottom
Analyze before decide how to position your banner, the content on the site you would like to integrate, such content on your page will define where shall the pop be appearing for making the readability stays as comfortable as possible, and for the action being less invasive. Using the embedded content might be less stressful than the pure pop up.. increasing conversion.
*the recommended layouts are preferred over the other ones due to the layouts that SD Worxs webpages maintain.
Step 2 - Edit the template design to make it your own:
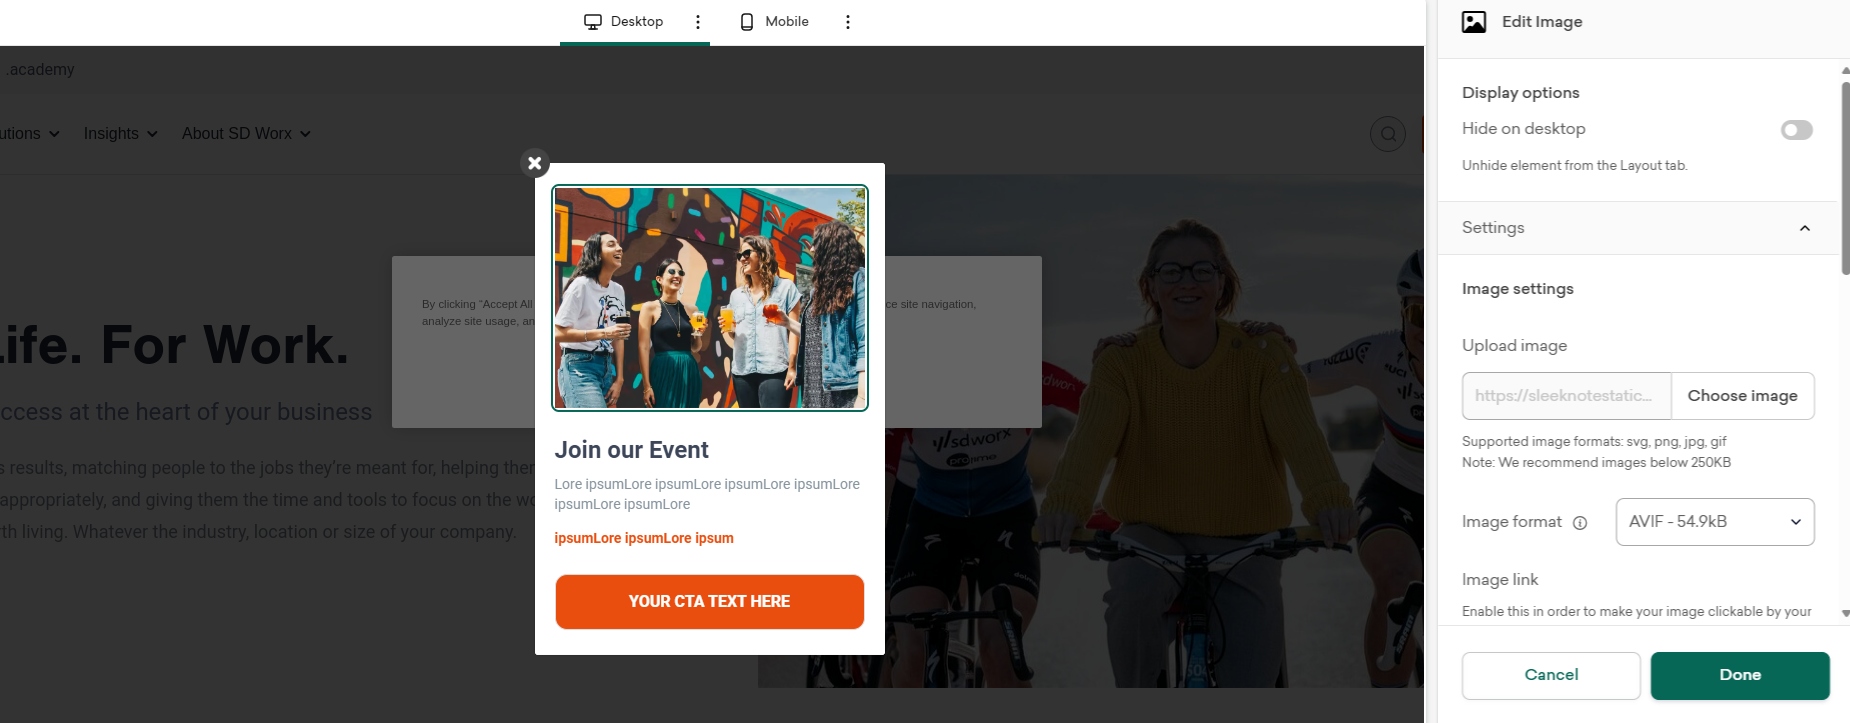
When changing the pop up, you are entitled to make changes on:
- The main Headline
- Text can be modified on free will
- Color is not allowed to change
- Sizing is not allowed to change
- The text body
- Text can be modified on free will
- Color is not allowed to change
- Sizing is not allowed to change
- The link itself
- Text can be modified on free will
- Color is not allowed to change
- Sizing is not allowed to change
- URL behind is a open selection
How did we do?
2 - Sleeknote - Best practices
4 - Triggers & Page level targeting