Table of Contents
4. Embedding Pardot Forms in Foleon: 3 Flexible Options
Embedding Pardot Forms in Foleon: 3 Flexible Options. Foleon offers multiple ways to integrate Pardot forms into your content, each with its own strengths depending on how and when you want to captur…

Embedding Pardot Forms in Foleon: 3 Flexible Options
Foleon offers multiple ways to integrate Pardot forms into your content, each with its own strengths depending on how and when you want to capture leads. Below are the three main methods, along with their pros and cons to help you make the right choice.
Comparison
Method | Best For | Pros | Cons |
Recommended Project Settings (Gated) | Premium content, lead capture before access | Guaranteed leads, simple setup | High barrier, no preview |
Recommended Embed Element | Custom placement, advanced forms | Full control, flexible | Requires proper sizing |
Pardot Element | Quick setup, design consistency | Easy to use, responsive | Limited customization, Thank you message is not inherited from Pardot, Conversion event not present |
Via Project Settings (Gated Access Before Viewing)
You can gate your entire Foleon document by requiring users to fill out a Pardot form before they can access any content. This is configured in the Project Settings under the gating options.
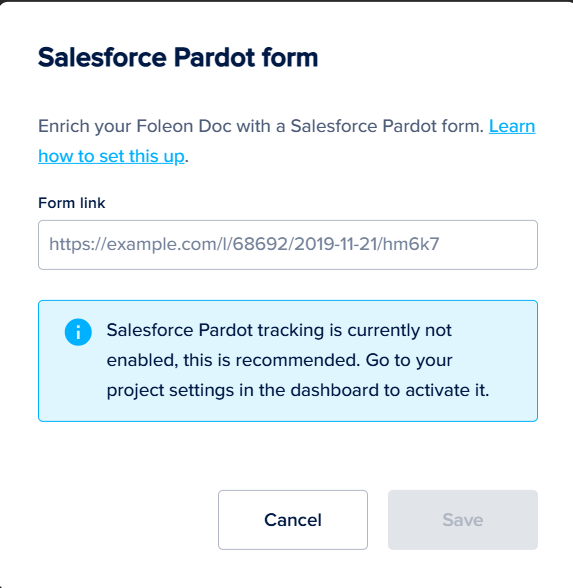
- Copy the Pardot Form URL

- Place the URL in the Form link input field
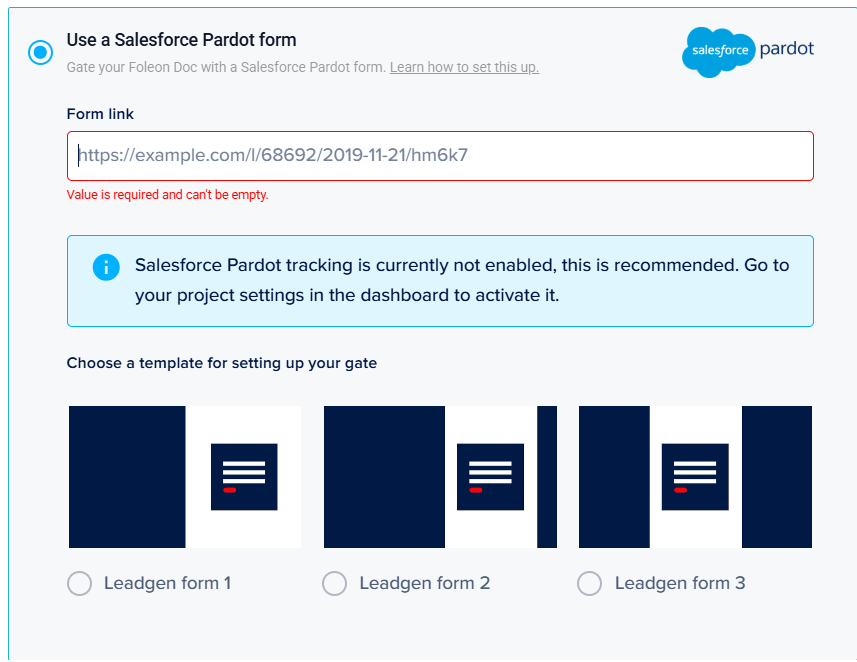
- Choose how the form will be displayed when people arrive on the Foleon doc.
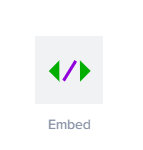
Via the Embed Element (Custom HTML Embed)
Use the Embed element in Foleon to insert the Pardot form using its HTML embed code. This allows you to place the form anywhere within your content layout.
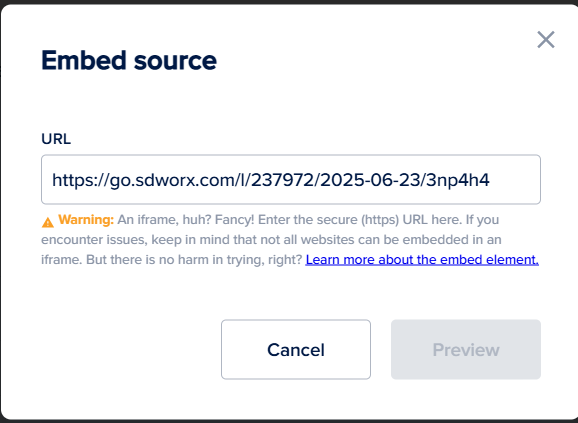
- Drag the element Embed to the desired area
- Add the URL in the source URL input field
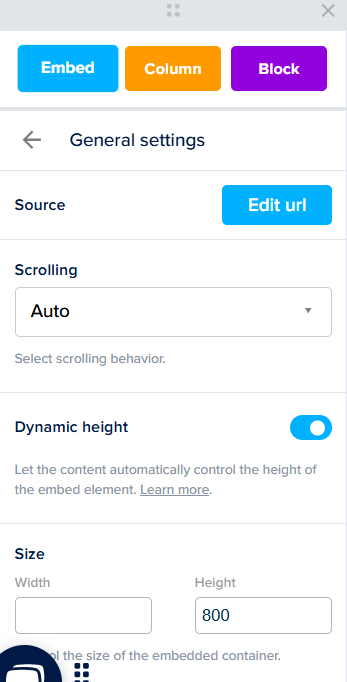
- In the settings of the embed element
- Foresee enough height for the form that it is fully displayed
- Set the scrolling on auto
- See that Dynamic height is switched on
Via the Pardot Form Element (Native Integration)
Foleon offers a native Pardot form element that allows you to select and insert a Pardot form directly from your connected Pardot account.
- Drag the element Salesforce Pardot to the desired area

- Add the URL in the source Form link input field
Final Tips
- Use gated access when lead capture is your top priority.
- Use the embed element for maximum flexibility and control.
- Use the Pardot element for speed and simplicity in standard campaigns.
How did we do?
3. Create Foleon Doc & Pages from a Template