Creating your own Test List
Having your own testlist will help in testing your newly created email. Sending a proof email with a test list provides the benefit to see all the dynamic content filled in based on your profile. Thi…

Having your own testlist will help in testing your newly created email. Sending a proof email with a test list provides the benefit to see all the dynamic content filled in based on your profile. This can help you spot errors far quicker.
- Go to the folder [Country] --> Testing --> _Testlists
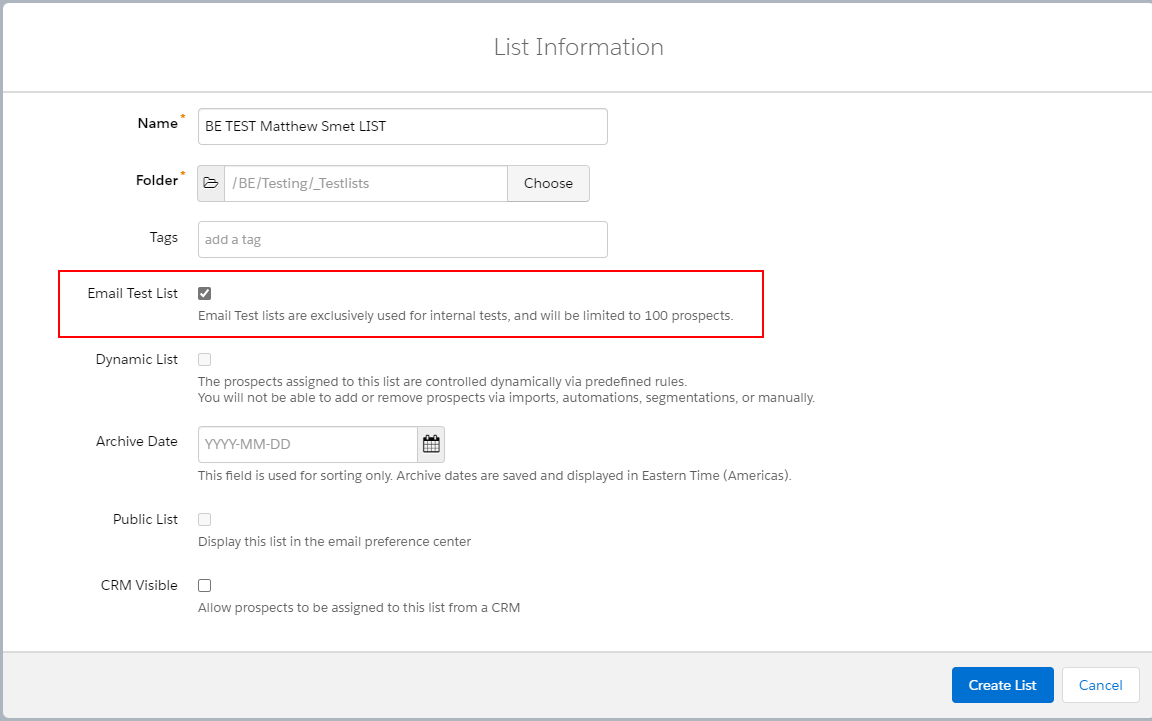
- Create your list with the right naming convention.
[Country-code] TEST [First name + Last name] LIST
Example: BE TEST Matthew Smet LIST - Mark the checkbox "Email Test list" and press Create List.

- Now we need to add your Pardot profile to the list.
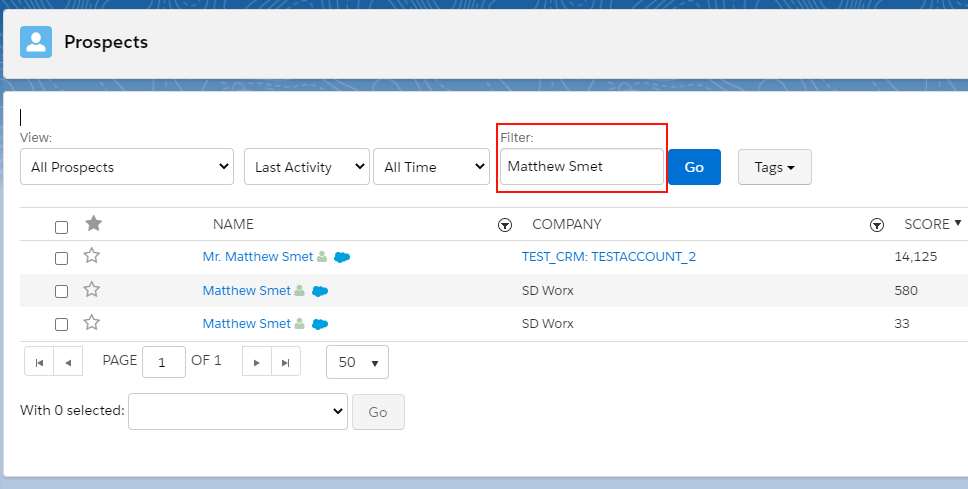
First off all, go to the tab prospects. This is the full view of all the prospects we have in our Pardot database. At the left, you can also jump to leads and contacts within Salesforce.

If you have already a profile in Pardot, utilize the search function.
You can click on the profile linked to the email address you want to add to your test list. This can also be done with other team members if you want to have a more global test list.

Open the profile by clicking on the name and navigate to the tab "Lists".

Choose the list you created and go to the bottom of the page and select "Save Lists".


If you have DO NOT have a profile in Pardot, utilize the create function.
You can click on the Create profile button at the right of the screen to set-up a pardot profile.

The only fields that are required to fill in are: Email, Profile and campaign but best fill out the profile as complete as possible.
- For Campaign utilize this campaign: [Country] TEST Campaign for testing
- For Profile just pick default.
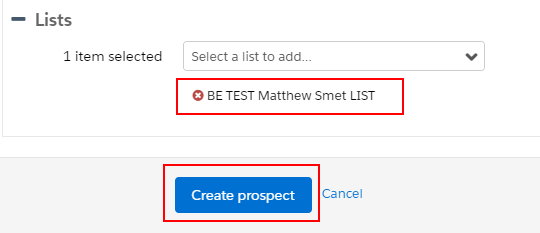
Navigate to the container "+ Lists" and fold it open. Select the test list you created and add it.

How did we do?
Creating engagement program emails
