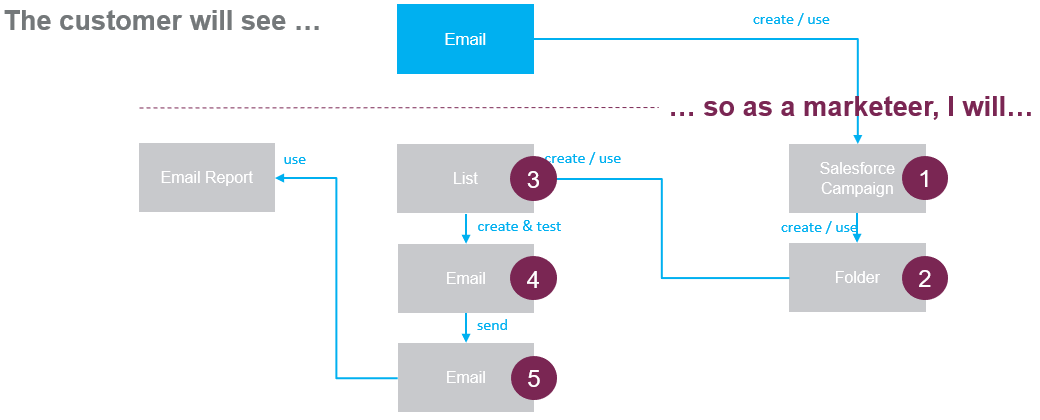
Guidelines on how to create, test and send an email in Pardot.
Updated
by Matthew Smet
Always stick to the right naming convention for all the assets you create. The format of the general naming convention is: <country code> <campaign code> <descriptive name> <language code> <asset type>
Note: Countries with only 1 language do not require the <language code> and not every type of asset needs all the components mentioned above. Hence, we added an example in every step below.
Open tab “Campaigns” and select listview “Templates”
For this training you can use this parent campaign: "UK TRNG Parent campaign for trainings" (or the version of your country) . In real campaigns you have to create a new parent campaign as well by cloning the "Parent Template".
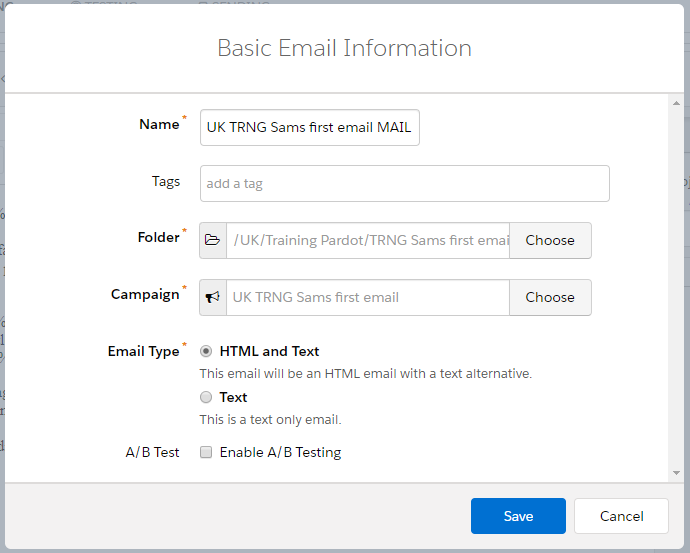
Clone the “Outbound Template” (+fill in all the required information)
An example of no <language code> and <asset type> in the naming convention:
Select the campaign you created in the first step--> naming convention! (e.g. “UK TRNG Sams first email MAIL”)
-
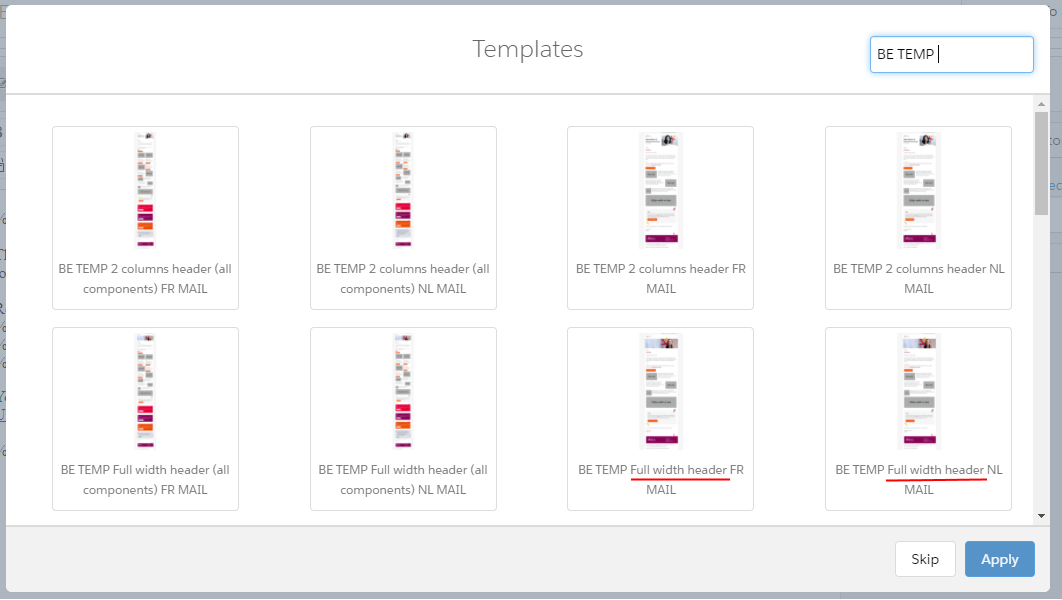
Select an email template (most used = "Full width header")
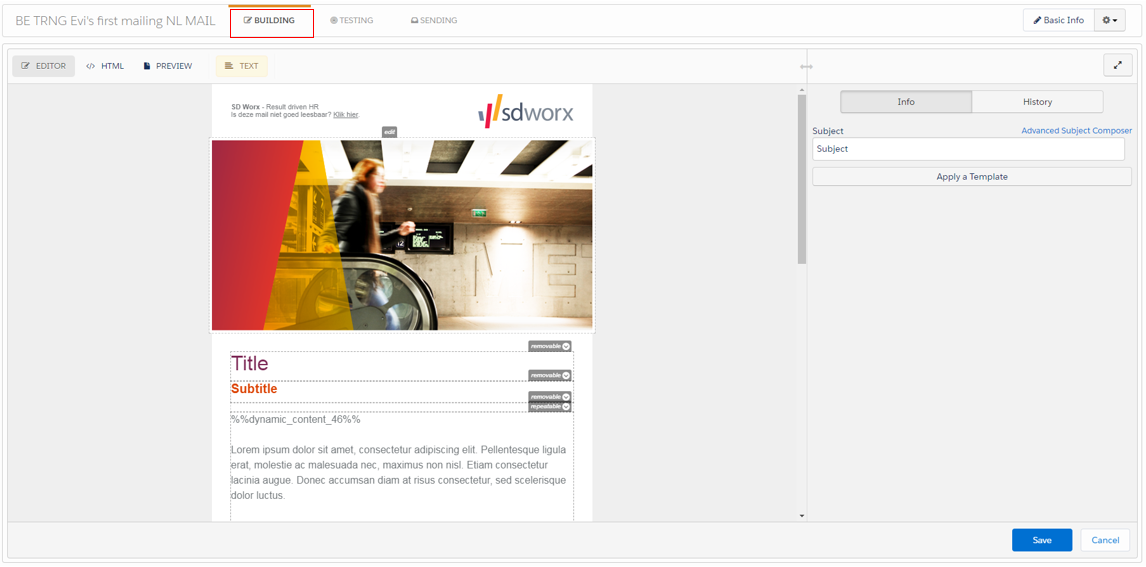
Use the "EDITOR" to update the content of your email
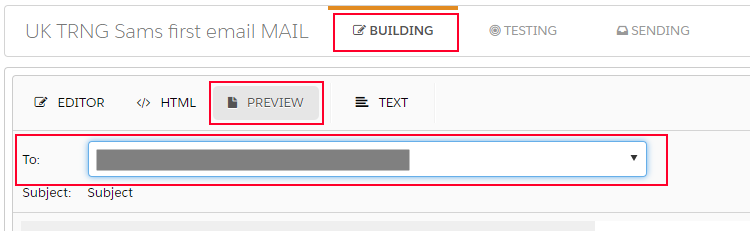
Do a quick test of the email content & personalization using the "PREVIEW"
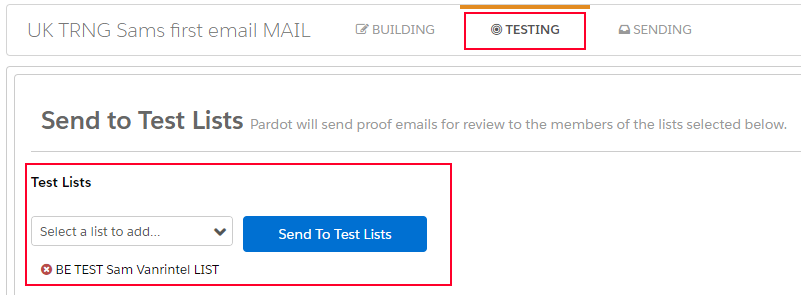
Perform a thorough test by sending the email to yourself from the "TESTING" tab
The "default" header image can be replaced with a custom header image specifically for your campaign by requesting a new image from the design team (request form) or you can use one of the other "default" headers: https://go.sdworx.com/email-headers.
As a marketeer you normally never use the "HTML" directly. If you need special structures/designs in your email which are not already provided inside the email templates, please contact marketingexcellence@sdworx.com.
Normally we provided email "Test Lists" for all Pardot users, but if you can't find one with your name, please contact marketingexcellence@sdworx.com.
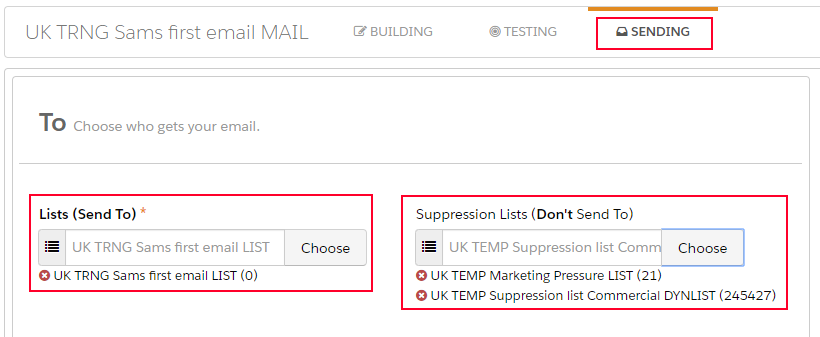
Step 5: Send the Email
In "To" you can choose who gets your email
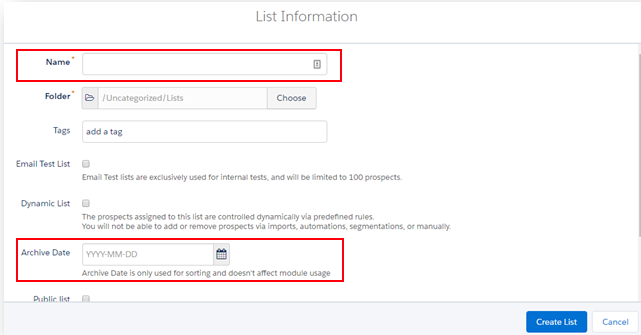
In "Lists (Send to)" select the list you created in the third step:
In "Suppression Lists (Don't Send To)" always select the marketing pressure and the suppression list for the type of email you are working on.
In most real campaigns you will create a new list for the recipients and use the correct suppression list to suppress contacts that manually opted out for this specific type of emails, but in some cases you will be sending to a complete "preference list" (e.g. weekly/monthly newsletters). See more information on the 3 ways you can set recipients for your email in Pardot.
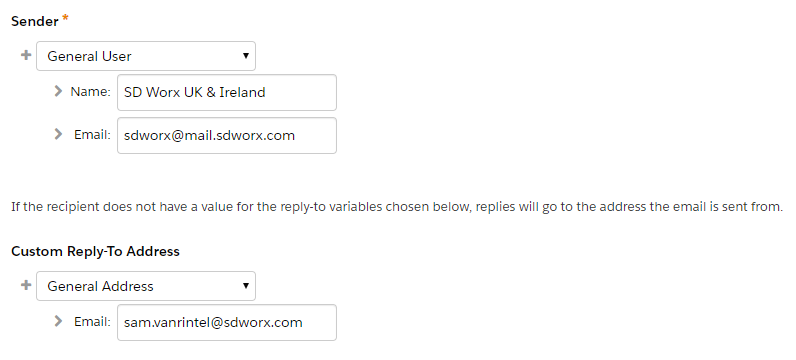
In "From" you can choose who your email is sent from
The "Sender" > "Name" is the name which recipients will see
The "Sender" > "Email" must always stay sdworx@mail.sdworx.com
The "Custom Reply-To Address" is the email address replies from recipients will go to