Step 2: Create Salesforce Campaign and Folder
Step 1: The basics and access Step 2: Create folder and campaigns Step 3: Create responded list Step 4: Create Registration form Step 5: Form completion action Step 6: Create Landing Page.. Now that…

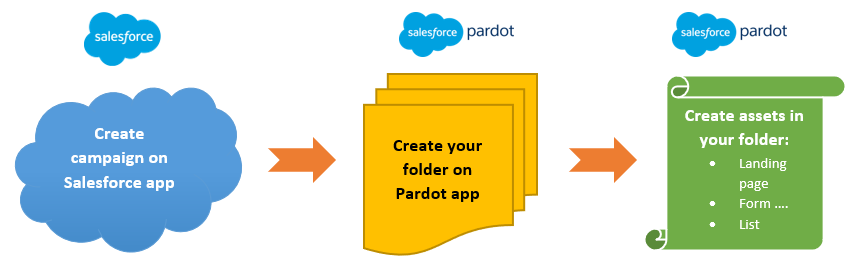
Now that you have reached step 2, it is time to dive into the tools and practice. We are going to use the Pardot Lightning App to create a landing page. However, before creating the assets, you need to first create the Salesforce campaign and a folder.
Action 1: Quick recap how to create Salesforce child campaign:
- Go to Salesforce navigation > Campaign > Templates
- Clone the SD Worx Parent Template to create a parent campaign and fill in the details
- Clone the Outbound Template to create a child campaign and fill in the details
A detailed guide how to create campaign: Salesforce Campaign Guide
More information on Pardot Folder
Action 2: Create your Folder on Pardot Lightning App
The first principle is to keep it clean, well-structured and organised!
Add your assets under the right folder in Pardot. Assets include: your form, responded list, page, autoresponder, and everything related to your landing page.
Let's say you must create a landing page for your own training (using the pardot lightning app). If you do not have a training folder yet, follow the steps below to create one:
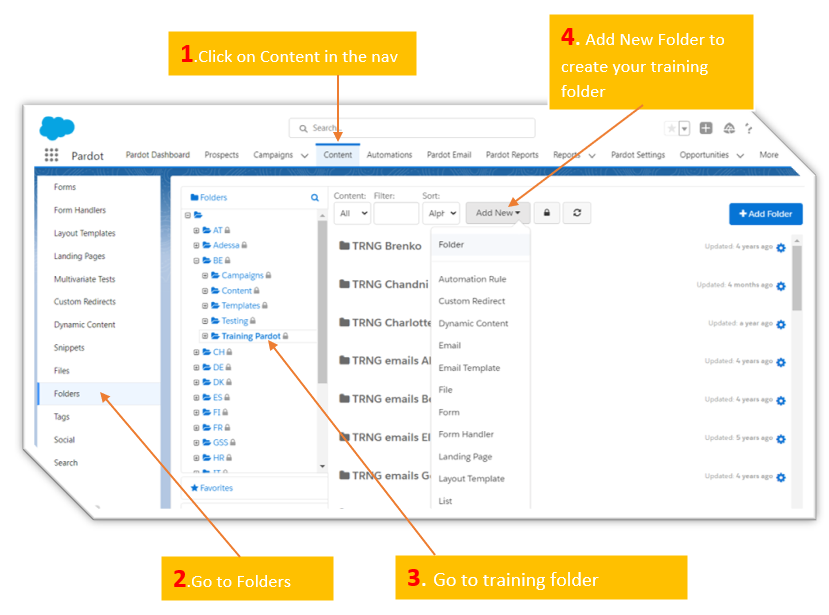
- Name your folder: TRNG {Your Name}, for example: TRNG Bugs Bunny and save.
In the next step 3, we will to show you how to create the assets in your training folder !
How did we do?
Step 1: The basics and access to Pardot
Step 3: Create a responded list