Step 4 - Create additional pages for an event
This article explains how to create additional pages for an event in InviteDesk, including adding information, agenda, gallery, and custom pages to enhance the event website. It covers how to navigate to the website editor, choose layouts, insert components, and apply best‑practice tips to build a complete, informative event site before moving on to the email communication setup.

Your event website can consist of up to 5 different pages which you can easily set up. In this article, we will talk about the creation of additional pages/tabs.
The Information page / Program page / Gallery page or Custom page can be used to add additional information for your event. You can add content to your page by using the editor. The creation of each page follows the same logic as when creating a registration page.
You can also add the second additional page, the "Information" page, and the "Gallery" page as a button in your communication.
Recap:
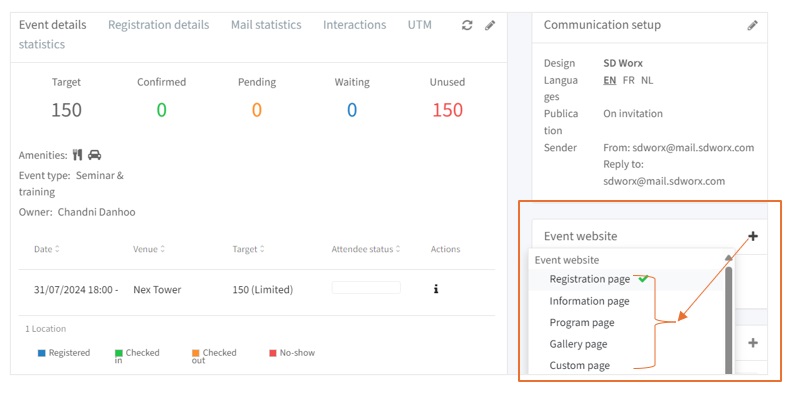
1. Go to your event ➡️ Event Website box on the right
2. Click on the “+” button ➡️ Select a page template you want to utilise
 Tips from Expert Luv:
🔴 You can be as creative as you can when using the editors.
🟣 Use tables and images to represent information about your event.
🟡 The components available in the editors have a lot of options such as layout, border colour, background colour…
🔴 Check how the page appears on mobile versions before invitation send-outs.
🟢 With the sliders, you can deactivate the pages, if you decide you won't be using them after all
🔴 Always test!
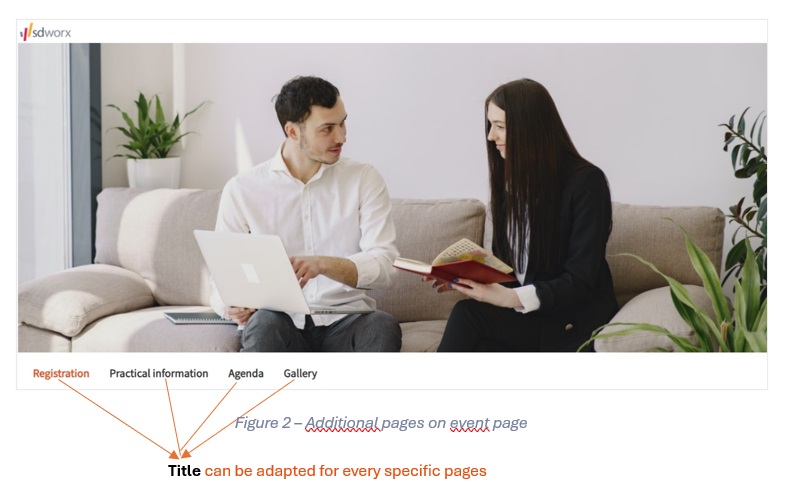
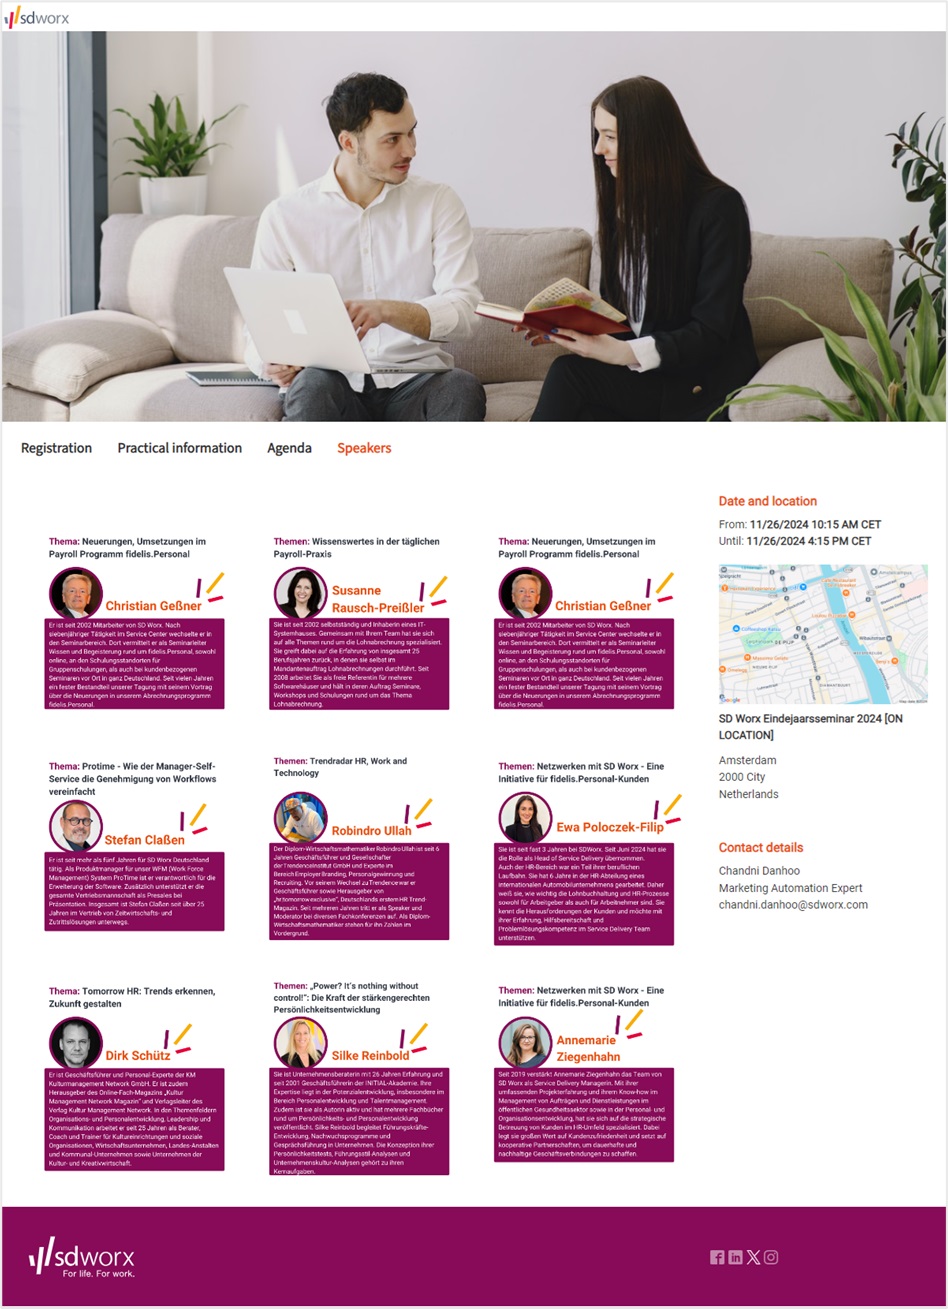
Additional pages are displayed as tabs in your main event page. You can click on the different tabs to display the pages. Example:
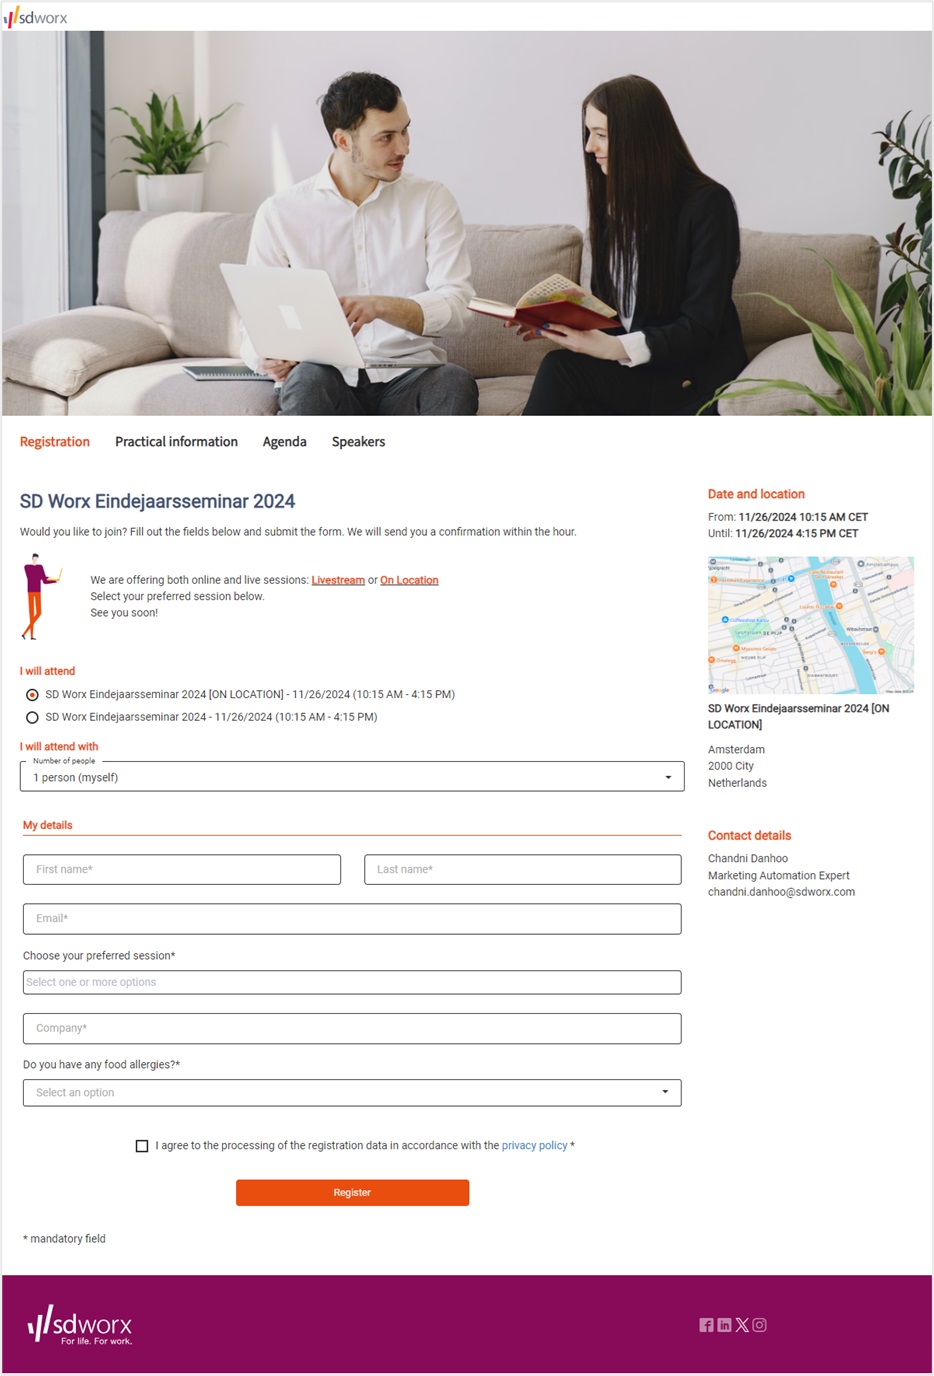
Example of Registration Page (with multiple sessions):
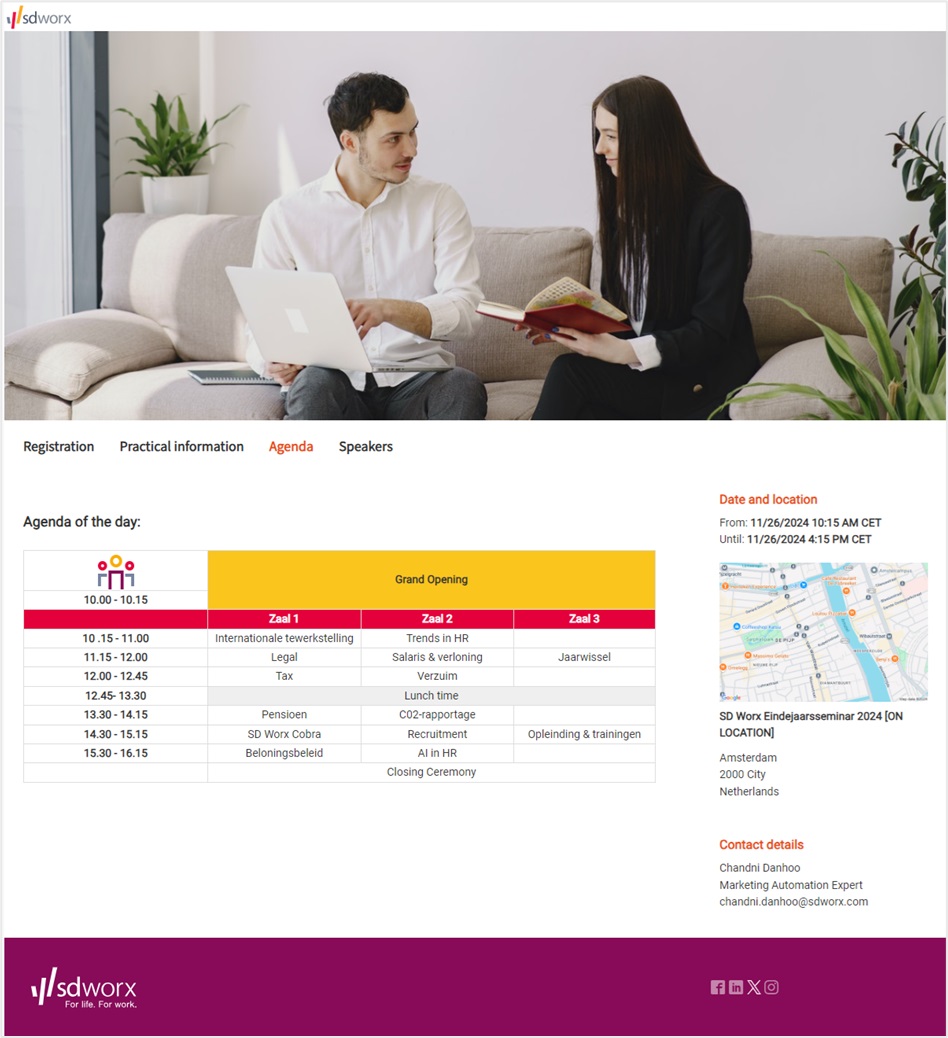
Example of Agenda Page (using table component):
Example of gallery page (using images)
Are you ready to proceed with the next step?
Checklist:
✅ Event data / information / Date and location / Communication language completed
✅ Event synchronised to Salesforce and Parent Campaign linked to event child campaign on Salesforce
✅ Registration form is set up
How did we do?
Step 3 - Create an event registration page
Step 5 - Create Email Communication for your Event