Step 3 - Create an event registration page
This article walks through creating an event registration page in InviteDesk, including selecting the registration page layout, configuring mandatory and optional form fields, adding conditional (routed) questions, managing timing and capacity settings, and creating additional pages to complete the event website structure.

Have you already created your event and set up your communication? Good progress! 💁♀️ You are now ready to create your event registration page.
 Your event website can consist of up to 5 different pages:
Registration page / Information page / Program page / Gallery page / Custom page which you can easily set up.
In this article, we will talk about the creation of your registration page where your invitees must fill in a form.
- Go to your event ➡️ Event Website box on the right
- Click on the “+” button ➡️ Select Registration page
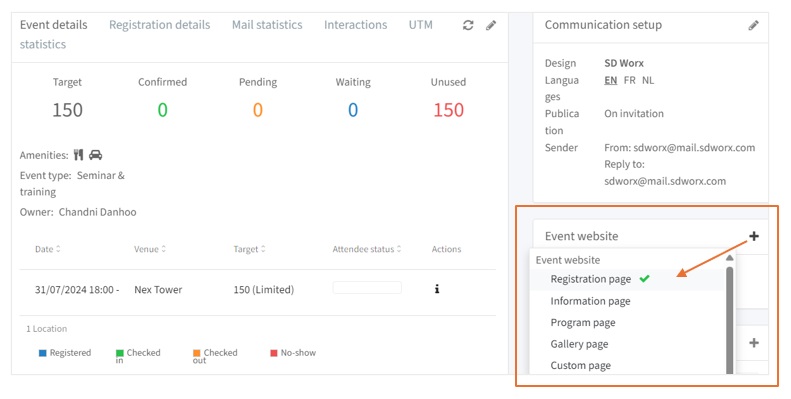
You get a preview of what it will look like for the guests and on the right, you have the editor in which you can write your copy and set the parameters.
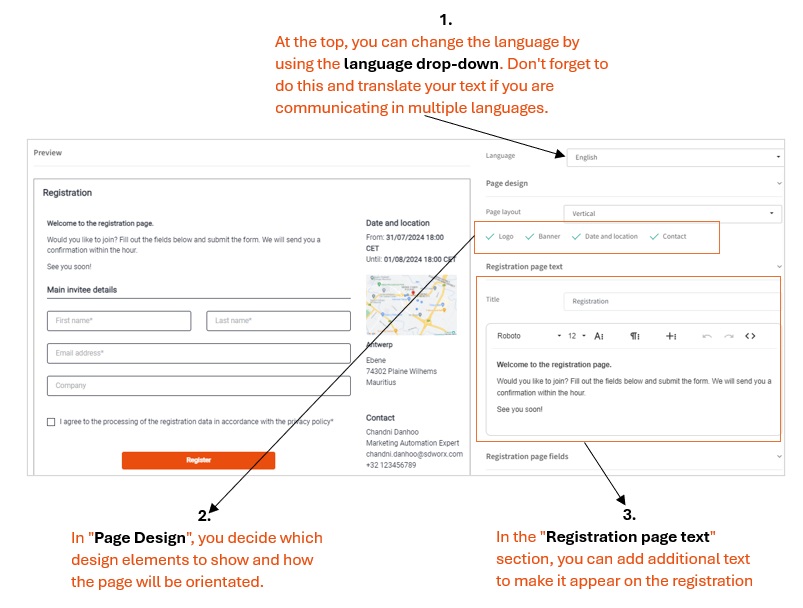
Registration form and fields
Mandatory fields
Email Address, First Name, Last Name and Company fields are standard and default field that are required in a form.
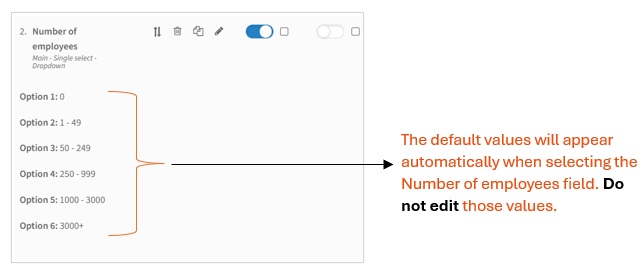
Number of employees field
The Number of employees field is a drop-down field that has predefined values. This field is already configured with the correct value ranges and shouldn’t be modified. On selection, the default values will appear automatically.
Optional and additional fields
Use Freetext / Single text / Multiple select to add additional fields in your form.

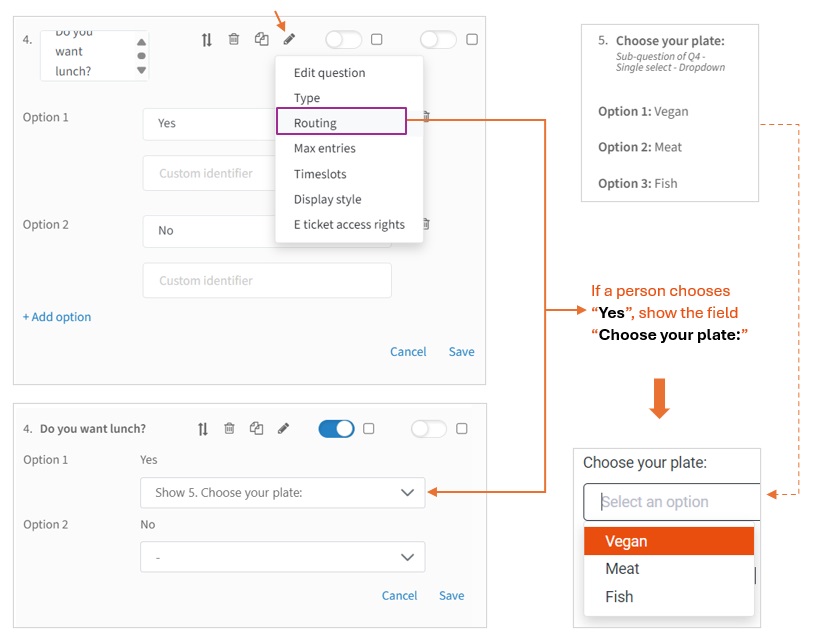
Route your question
In the example below, we used a routing where the fifth question will only appear on the registration page if an invitee has answered "Yes" to the fourth question “Do you want lunch?”.
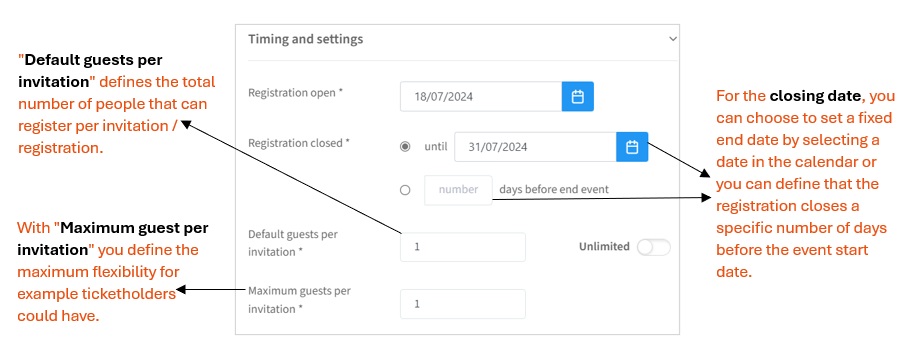
Timing and settings
In “Timing and settings” you determine when the registration form is accessible and the number of guests that can subscribe per invitation.
Create additional pages/tabs on your registration page
Do you want to provide more information about your event?
How did we do?
Step 2 – Communication & Design Set up
Step 4 - Create additional pages for an event